Tuesday, October 27, 2015

One Sheet Mini Flip Book SASL DT Project

Hello Krafters!!

Did y'all miss me?? I know it has been a few weeks since I shared anything. For that, I apologize. It has been crazy busy lately, but I think I have finally found my groove. I am sharing a project for She's A Sassy Lady today!

Do you have a lot of pattern papers laying around and you want to use them up? Are you limited on time? Need a few ideas for the upcoming holiday season? Then this idea is for you! I revisited a project I did for a teacher years ago. It is simple to put together and you can use what you have in your stash. This mini brag book or mini album can be used for almost anything you want it to be and you can decorate the outside as much as you would like as well! This particular project will be used as a memory book for a new baby. 

  1. Take one sheet of 12x12 cardstock (any color) *use thick and sturdy (Bazzill, Stampin’ Up, etc) 
  2. Cut the cardstock at the 6.25” mark. This will be your cover and the 5.75” will be the inside pages 
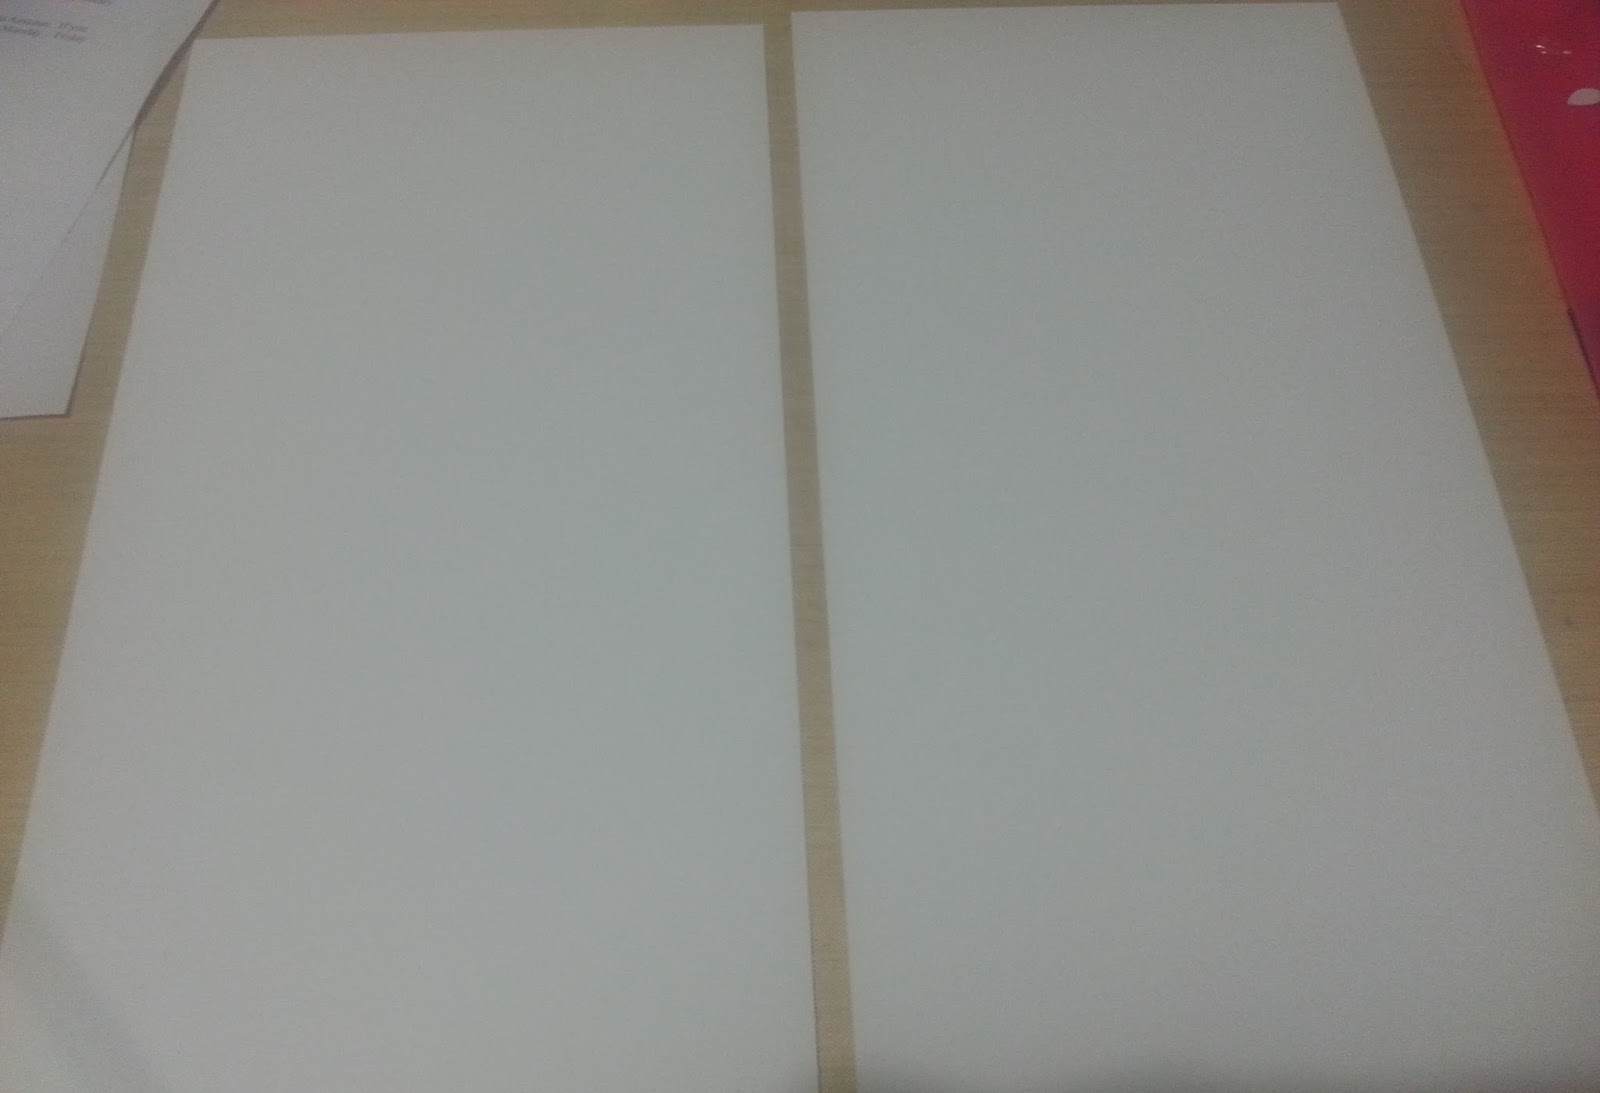
  3. The larger portion, score ate 3”, 3.25”, 8” and 8.25” (or score where you want! depending on how you want your book to close)
  4. The inside pages, score at .25”, 4.25”, and 8.5” and fold accordion style. 
  5. Assemble the book! Add adhesive to the .25" and place nudged to the second score line on the cover. This will allow the photos to be accessed on the front and back of the pages. 
  6. Cover the pages and decorate as you wish! I used the Nana Kids and Sweet Stack by DCWV (VERY old collections I had in my stash) 
  7. I used the Art Philosophy (photo corners), Nursery Tails (baby info-Imagine cartridge), and Nursery Rhymes (back cover) Cricut cartridges. 
  8. “Beautiful Journey” was cut with the Sizzix thinlits dies (I believe it is named Explore)
  9. I wanted to keep this simple so I just added a Martha Stewart punched butterfly from left over pp I had to the front and back of the book)


That’s it!! This would be easy to make for teachers as gifts or even a fun craft to do with the kiddos on a cold or rainy day. I plan to do this with mine to document their summer! It can hold a lot of photos too!


I hope you enjoyed today’s project! Don’t forget to stop by She's A Sassy Lady blog…so much talent and so many ideas shared. Until next time, Krafthead~

Monday, October 5, 2015

Store It Mondays-Ribbon and Trim

Happy Monday Krafters!

I will be wrapping up Store It Mondays soon. I have a few more storing solutions to share. I hope you have enjoyed and were inspired by what I have shared thus far. Today I am sharing how I store ribbon and trim. A few years ago on scrapbook.com, I purchased a Simply Renee Ribbon Organizer for $12 during their 12 days of Christmas. It holds a ton of ribbon/trim. The organizer usually costs around $80. It was a steal. I wish I would have purchased two of them. There is storage in the tray area and the ribbon sticks out for easy access. Then there is more storage using clips for ribbon that is not on a spool but in bags or loose. I have purchased ribbon from Etsy and Hobby Lobby that does not come on a spool. This is perfect. I am not sure if scrapbook.com still sells this item. However, I am sure Amazon or Ebay has them if you were looking to reorganize your ribbon and trim. 


Prior to the Simply Renee, I used a peg board and cheap curtain rods to hold spools of ribbon and trim. This system can be customized as needed. I can extend the rods as I purchase more ribbon. I really do like this system too because again, it has the potential to hold a lot ribbons! This system can work well for small punches as well. 


I also have an iron dress form with trim on it. (You can see it in the picture above with the Simply Renee). I purchased that item from a catalog for about $19 (I don't remember the name of the place). I have the rose trim wrapped around to look like a dress. Instead of hoarding the trim, I really need to use more of it! LOL 


That’s it! I hope you were inspired today. Thanks for stopping by, Krafthead~

Friday, October 2, 2015

Sweet Birthday SASL DT Project

Happy October Krafters!!

Can you believe there are only three months left in the year? In the month of October, there are a lot of birthdays in my family. My mother-in-law’s birthday is today and my son’s is tomorrow. I have an uncle, cousin, and a few friends who will be celebrating birthdays this month. So I am going to share a birthday card!

Let me tell you; this card is completely different than what I intended. When I first started off, I was just going to do a simple watercolor background using distress inks add happy birthday with a few sequins and call it an evening. However, the markers (Chameleon) were calling my name and the stamps (Lawn Fawn’s Baked With Love) said, “Play with us Kenya, play with us!” Before I knew it, I was coloring and masking off stamped images to give a layered look. 


Chameleon markers are fairly new on the market. I have had them for about three months and colored with them just a hand full of times. There is a learning curve, but I really do like them. I used this card to further play with color layering and how to fuse the colors correctly. I can sit here and cry about all of the mistakes, but I would rather focus on what I do like. I like being able to have one marker make smooth transitions between colors. But again, this can be tricky. I really like how the bowl turned out as well as the butter and eggs. 


After I finished coloring the image, I used Avery Elle’s Wonky Rectangles to cut out my watercolor layer as well as the colored layer. I was going to put the sentiment on the inside with the piping bag, but decided at the last minute to put it on the outside instead. The sentiment is up a little higher than I would like, but overall, I think it still turned out ok! 
To add a little more shimmer, I added Wink of Stella Clear Pen to the bowl, and hearts (stamped with LF’s Lobster ink). 


That’s it! I hope you were inspired by this project…imperfections and all. That is all apart of the crafting process! Remember to stop by She's A Sassy Lady Blog to check out the talented DT. Have a great weekend, Krafthead~